The Fox Float X Service Manual provides essential guidance for maintaining and repairing the rear shock, ensuring optimal performance, durability, and safety for mountain bike enthusiasts and technicians․
Key Features and Benefits of the Fox Float X Rear Shock
The Fox Float X rear shock is designed for superior performance, offering a wide range of adjustability to suit various riding styles and terrain conditions․ Its advanced compression and rebound damping systems provide precise control, ensuring a smooth and responsive ride․ The shock features a lightweight yet durable construction, making it ideal for both professional racers and enthusiasts․ The air spring system allows for easy tuning to match rider weight and preferences, while the Kashima coating reduces friction for consistent performance․ Additionally, the shock’s sleek design integrates seamlessly with modern mountain bike frames, enhancing both aesthetics and functionality․ These features make the Fox Float X a top choice for riders seeking high-quality suspension performance․
One of the standout benefits of the Fox Float X is its ability to maintain optimal damping characteristics across a wide range of temperatures, thanks to its advanced thermal management system․ This ensures consistent performance in both hot and cold conditions, giving riders confidence on any trail․ The shock also offers excellent small-bump sensitivity, allowing for better traction and control on rough terrain․ Its broad range of adjustability, including low-speed compression and rebound damping, makes it versatile for different riding disciplines․ Whether tackling downhill descents or cross-country trails, the Fox Float X delivers unparalleled stability and responsiveness, making it a trusted component for riders worldwide․

Pre-Service Checks and Safety Guidelines
Before servicing the Fox Float X, ensure the bike is clean, and wear protective gloves and eyewear․ Inspect for damage or leaks, and prepare a clean workspace․
Always follow proper safety protocols to avoid injury or damage․ Use approved tools and refer to the manual for specific guidelines to ensure safe and effective servicing․
Essential Safety Precautions for Servicing the Fox Float X
When servicing the Fox Float X, always wear protective gloves and eyewear to prevent injury․ Ensure the workspace is clean and well-lit to minimize risks․ Use only approved tools and follow the manual’s guidelines to avoid damage or personal harm․ Inspect the shock for visible damage or leaks before starting․ Decompress the shock fully to release stored energy, as sudden movements can cause injury․ Lubricate tools if necessary to prevent slipping․ Never service the shock while it is under pressure or attached to the bike․ Follow all safety warnings and recommendations provided by Fox to ensure a safe and effective service process․
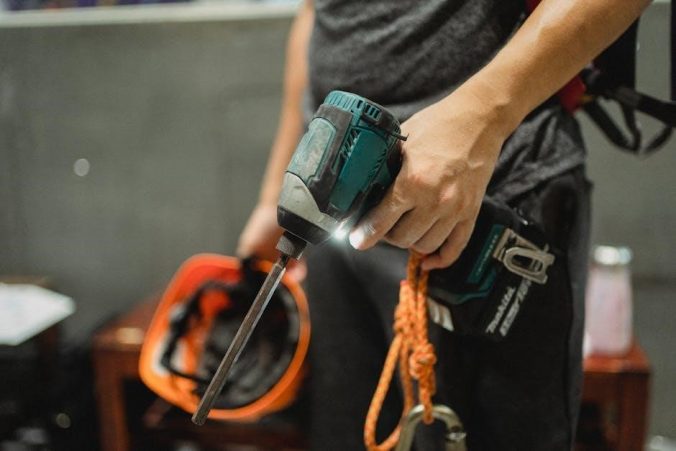
Tools and Materials Required for Service
To service the Fox Float X, gather the necessary tools and materials to ensure a smooth process․ Essential tools include a 3mm, 4mm, and 5mm Allen key, a torque wrench, and a shock pump for pressure adjustments․ A set of screwdrivers, including Phillips and flathead, may also be needed․ Specialized tools like an IFP piston tool and a damping rod guide are crucial for internal adjustments․ Materials required include high-quality grease for lubrication, suspension fluid for damping adjustments, and a clean, lint-free cloth for wiping down components․ Additionally, isopropyl alcohol can be used for cleaning, and a sealant may be necessary for reassembly․ Always refer to Fox’s official manual for specific tool recommendations to ensure compatibility and safety․
Disassembly and Inspection Process
Begin by carefully disassembling the Fox Float X shock to inspect internal components․ Clean and examine parts for wear, damage, or leakage, ensuring precision and safety․
Step-by-Step Guide to Disassembling the Fox Float X
To disassemble the Fox Float X, start by removing the air can using a wrench, taking care not to damage the threads․ Next, carefully extract the shock shaft, ensuring all seals are intact․ Remove the mounting hardware and external adjustments, such as the rebound knob, to access the internal components․ Use specialized tools to release the nitrogen charge before opening the main body․ Once depressurized, disassemble the damper and piston, inspecting each part for wear or damage․ Store all components in a clean, organized manner to prevent loss or contamination․ Always follow safety guidelines to avoid injury or further damage during the process․
Inspecting Internal Components for Wear or Damage
Inspecting the internal components of the Fox Float X is critical to ensure proper function and longevity․ Begin by examining the shock shaft for any signs of scratches, corrosion, or excessive wear․ Check the seals and bushings for tears, deformation, or loss of lubrication․ The piston and damper should be inspected for scoring or excessive play, which may indicate wear․ Use a clean, dry cloth to wipe down components for a clear view․ If any damage or wear is found, replace the affected parts immediately․ Always refer to the manufacturer’s specifications for acceptable wear limits․ Proper inspection ensures reliable performance and prevents further damage during reassembly․
Reassembly and Installation
Reassembly and installation require careful attention to detail, ensuring all components are properly lubricated and aligned․ Follow the manual’s guidelines for secure fastening and proper function․
Reassembling the Fox Float X Shock
Reassembling the Fox Float X shock requires meticulous care to ensure all components function correctly․ Start by lubricating moving parts with the recommended grease to reduce friction and wear․ Reinstall the main piston, ensuring it is properly seated and aligned․ Next, reattach the damping assembly, making sure all connections are secure and free from contaminants․ Use a torque wrench to tighten bolts to the specified torque values in the manual․ Finally, reconnect the air can or coil spring, ensuring proper alignment and functionality․ After reassembly, test the shock by compressing it to check for smooth operation and any signs of leaks or irregularities․
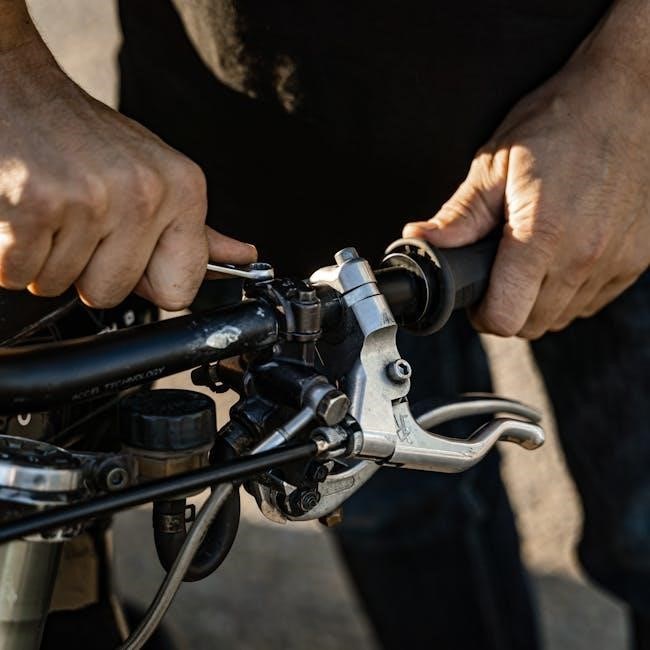
Correct Installation Techniques
Proper installation of the Fox Float X shock is critical for optimal performance and safety․ Ensure the shock is correctly aligned with the bike frame and securely mounted using the recommended hardware․ Tighten all bolts to the torque specifications outlined in the manual to prevent damage or loosening during use․ After installation, inspect the shock for proper function by cycling the suspension through its entire travel range․ Check for any signs of binding or irregular movement, and ensure no components are rubbing or misaligned․ Finally, test the bike under normal riding conditions to confirm the shock operates smoothly and as intended, providing consistent damping and support․
Troubleshooting Common Issues
Identify issues like leakage, damping problems, or reduced performance by inspecting seals, adjusting settings, and referencing diagnostic guides․ Always follow step-by-step inspection and repair procedures․
Diagnosing Common Problems with the Fox Float X
Common issues with the Fox Float X include oil leakage, damping malfunctions, and unusual noises․ Inspect the shock for visible damage or wear․ Check the seals for leaks and ensure proper damping adjustment․ Strange noises may indicate internal damage or worn components․ Refer to the manual for diagnostic steps to identify specific problems․ Always use the correct tools and a clean workspace to avoid further damage․ Regular inspection and maintenance can help prevent these issues․ If a problem persists, consult a professional technician for assistance; Proper diagnosis is key to ensuring the shock performs optimally and safely․ Follow the manual’s guidelines for accurate troubleshooting․
Fox Float X。,,、。,。,O-rings。,。。。,。,。Fox Float X,。

Maintenance Intervals and Best Practices
Regular maintenance ensures optimal Fox Float X performance․ Clean and inspect the shock every 50 hours of use․ Lubricate moving parts and replace seals as needed․
Recommended Service Intervals for Optimal Performance
Regular servicing is crucial for maintaining the Fox Float X’s performance and longevity․ Clean and inspect the shock every 50 hours of use, paying attention to seals, bushings, and hardware․ Replace the shock seal and lubricate moving parts every 200 hours or when showing signs of wear․ Annual professional servicing is recommended to ensure internal components are inspected and serviced by qualified technicians․ Adhere to these intervals to prevent premature wear, maintain damping consistency, and ensure rider safety․ Cleaning the shock after muddy or wet rides helps prevent corrosion and keeps the unit functioning smoothly․ Consistent maintenance routines will maximize the shock’s performance and extend its lifespan significantly․
Best Practices for Long-Term Maintenance
Proper long-term maintenance of the Fox Float X ensures consistent performance and extends its lifespan․ Always clean the shock regularly, paying attention to seals and hardware, and store it in a dry, cool environment․ Avoid exposing the shock to extreme temperatures or chemicals, as this can damage components․ Regularly check for wear on bushes, seals, and linkages, and replace them promptly if necessary․ Use only Fox-approved lubricants and parts to maintain compatibility and performance․ Keep a maintenance log to track service intervals and component replacements․ Following these practices will ensure the shock operates smoothly, providing reliable damping and control over time․
Leave a Reply
You must be logged in to post a comment.