The Honeywell 6000 thermostat‚ part of the FocusPRO series‚ is a programmable‚ digital thermostat designed for efficient temperature control. It offers advanced features like programmable scheduling‚ smart compatibility‚ and energy-saving modes. This thermostat is compatible with various HVAC systems‚ including conventional and heat pump configurations‚ ensuring versatile installation options; Its user-friendly interface and robust functionality make it a reliable choice for homeowners seeking precise climate control and energy efficiency.
1.1 Overview of the Honeywell FocusPRO 6000 Series
The Honeywell FocusPRO 6000 Series is a programmable digital thermostat designed for reliability and ease of use. It offers advanced features like programmable scheduling‚ smart compatibility‚ and energy-saving modes. Compatible with conventional and heat pump systems‚ this thermostat ensures efficient temperature control. Its user-friendly interface and robust functionality make it a popular choice for homeowners seeking precise climate management and energy efficiency.
1.2 Key Features and Benefits
The Honeywell FocusPRO 6000 Series boasts a range of features‚ including programmable scheduling‚ smart home compatibility‚ and energy-saving modes. It supports both conventional and heat pump systems‚ offering versatile installation options. The thermostat’s user-friendly interface and robust functionality ensure precise temperature control. Additional benefits include Wi-Fi connectivity for remote access and a high-resolution display for enhanced usability. These features make it an ideal choice for modern home climate management.
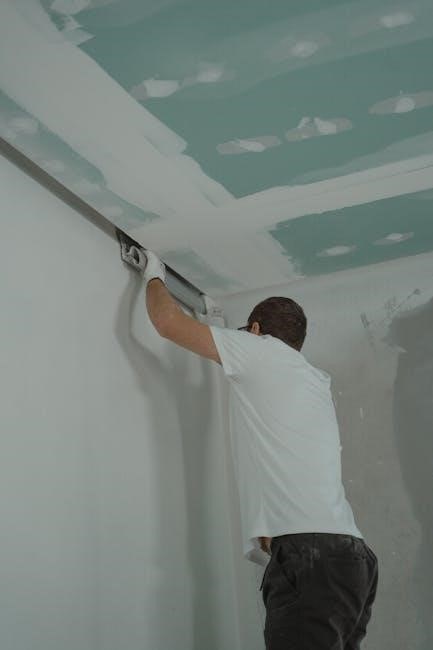
Wallplate Installation
To install the wallplate‚ remove the battery holder and pull the wallplate away from the thermostat. Align it with the wall‚ mark the holes‚ and secure it using the provided wall anchors for a sturdy fit.
2.1 Removing the Wallplate
To remove the wallplate‚ locate the designated pull area at the bottom. Gently pull the wallplate away from the thermostat unit. Ensure wires remain intact and carefully set the wallplate aside for mounting. This step is essential for accessing wiring terminals and preparing for installation. The wallplate is designed for easy removal‚ ensuring a smooth installation process.
2.2 Mounting the Wallplate
Position the wallplate on the wall‚ ensuring it is level. Mark the screw holes and drill pilot holes if necessary. Insert wall anchors into the drilled holes for secure mounting. Align the wallplate with the anchors and gently press it into place until it clicks or is firmly seated. This step ensures the wallplate is properly aligned and securely fastened for reliable thermostat operation.
2.3 Securing the Wallplate
Align the wallplate with the pre-marked holes‚ ensuring it is level. Insert the provided screws into the wall anchors and tighten them firmly. Avoid over-tightening to prevent damage. Use a level to confirm the wallplate is straight. Once secured‚ verify that the wallplate is snug against the wall and properly aligned for thermostat installation. This ensures a stable base for the thermostat.
Wiring Terminal Designations
Wiring terminal designations ensure proper connections for HVAC systems. Each terminal is labeled for specific functions‚ such as power‚ heating‚ and cooling. Correct wiring is essential for safe and efficient operation.
3.1 Understanding Terminal Labels
Understanding terminal labels is crucial for correct wiring. Each terminal (R‚ W‚ Y‚ G‚ C‚ O‚ B) serves a specific function‚ such as powering the system‚ controlling heating‚ cooling‚ or fan operations. Proper identification ensures safe and efficient connections. Refer to the manual for detailed explanations to avoid errors during installation. Incorrect wiring can lead to system malfunctions or damage.
3.2 Wiring for Conventional Systems
For conventional systems‚ connect the R (24VAC power) to the heating and cooling systems. Wire W to the heating stage and Y to cooling. G controls the fan‚ and C is the common wire. Ensure all connections are secure and match the system type. Follow the manual’s diagrams to avoid errors. Proper wiring ensures reliable operation and prevents potential damage to the thermostat or HVAC system. Always double-check connections before powering up.
3.3 Wiring for Heat Pump Systems
For heat pump systems‚ connect the R (24VAC) to the power source. Wire W to heating‚ Y to cooling‚ and O/B to the reversing valve. G controls the fan‚ and C is the common wire. Ensure proper connections for 1H/1C or 2H/2C systems. Refer to the system’s configuration to match wiring. Secure all connections and verify the thermostat’s settings for heat pump operation. Proper wiring ensures efficient heating and cooling cycles.

Thermostat Mounting
Mount the thermostat securely to the wallplate‚ ensuring proper alignment and level placement. Use the supplied wall anchors for stability and check for accurate installation.
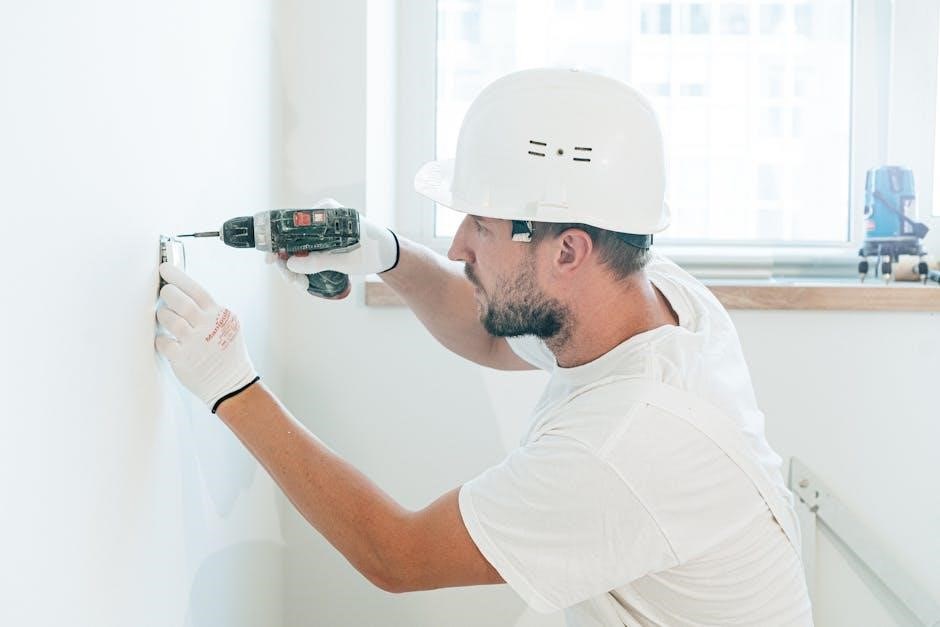
4.1 Attaching the Thermostat to the Wallplate
To attach the thermostat to the wallplate‚ first remove the battery holder and pull the wires through the wire hole. Align the thermostat with the wallplate‚ ensuring proper connection. Secure it firmly by following the installation guide. This step ensures the thermostat is correctly mounted and ready for operation. Proper alignment is crucial for accurate temperature control and system functionality.
4.2 Ensuring Proper Alignment
Proper alignment is crucial for accurate temperature control and system functionality. Use a level to ensure the thermostat is straight and aligned correctly with the wallplate. Align the thermostat’s mounting tabs with the wallplate’s slots‚ ensuring a secure fit. Proper alignment prevents issues like uneven heating or cooling and ensures the thermostat operates efficiently. Always refer to the installation manual for specific alignment instructions.
4.3 Finalizing the Installation
After securing the thermostat‚ ensure all connections are tight and properly routed. Restore power to the system and verify the thermostat’s display lights up. Test the thermostat’s functionality by running through heating and cooling modes. Double-check that the thermostat is securely fastened to the wallplate and aligned correctly. Finally‚ ensure the system operates smoothly and adjust settings as needed for optimal performance.
Special Functions
The Honeywell 6000 thermostat offers advanced features like compressor protection and cycle rate adjustments to optimize energy efficiency and system performance. These functions ensure reliable operation and extended equipment life.
5.1 Programmable Scheduling
The Honeywell 6000 thermostat features a 7-day programmable schedule‚ allowing users to set custom temperature profiles for different days. It supports up to four temperature settings per day‚ enabling precise control over heating and cooling. The thermostat also includes energy-saving modes and adaptive recovery‚ which learns the system’s performance to reach desired temperatures efficiently. This flexibility ensures comfort while optimizing energy usage.
5.2 Smart Features and Wi-Fi Connectivity
The Honeywell 6000 thermostat offers seamless Wi-Fi connectivity‚ enabling remote control through the Honeywell Home app. Users can adjust temperatures‚ monitor energy usage‚ and receive system alerts from their smartphones. The thermostat integrates with smart home systems‚ enhancing convenience and automation. Its smart features also include geofencing and voice control via Amazon Alexa and Google Assistant‚ providing a modern‚ connected experience for homeowners.
5.3 Energy-Saving Modes
The Honeywell 6000 thermostat features energy-saving modes designed to optimize energy efficiency. It includes energy usage reports for monitoring consumption‚ smart recovery to minimize cycling‚ and an energy-saving mode that adjusts temperatures slightly to conserve energy while maintaining comfort. These modes work together to reduce energy waste‚ helping homeowners lower their utility bills and manage energy usage effectively.
Installer System Test
The Installer System Test verifies proper operation by pressing and holding buttons to cycle through tests‚ turning the system on/off‚ and advancing to next tests. The display shows system status‚ ensuring all functions operate correctly. Compressor protection is bypassed during testing.
6.1 Running the System Test
To initiate the system test‚ press and hold the DONE and FAN buttons until the display changes. This process evaluates the heating and cooling systems‚ ensuring all components function correctly. The test sequence checks the compressor‚ fan‚ and valve operations‚ providing real-time status updates. Use the NEXT button to cycle through each test and DONE to exit. This ensures the thermostat and HVAC system are properly integrated and functioning as intended.
6.2 Verifying System Operation
After completing the system test‚ verify operation by observing the display for status updates. Ensure the system cycles on and off correctly‚ and all components (e.g.‚ compressor‚ fan‚ and valves) function as expected. Check for error messages or unusual behavior. If issues arise‚ consult the troubleshooting guide or contact Honeywell support. Proper operation ensures efficient heating and cooling performance.
6.3 Troubleshooting Common Issues
If the system fails to operate correctly‚ check the display for error messages. Verify wiring connections and ensure power is supplied. For unresponsive thermostats‚ reset the device or check the circuit breaker. Consult the manual for specific error codes and solutions. If issues persist‚ contact Honeywell customer support for further assistance. Proper troubleshooting ensures optimal system performance and resolves common installation or operational faults efficiently.

Specifications
The Honeywell 6000 thermostat is designed for compatibility with conventional and heat pump systems‚ operating on 24VAC power. It supports stages of heating and cooling‚ ensuring efficient performance.
7;1 Electrical Ratings
The Honeywell 6000 thermostat operates on 24VAC power‚ requiring no common wire for installation. It supports a wide range of HVAC systems‚ including heat pumps and conventional setups; The thermostat is UL certified‚ ensuring compliance with safety standards. It provides reliable performance across voltage and frequency ranges‚ making it suitable for diverse electrical configurations while maintaining energy efficiency and system compatibility.
7.2 Compatibility with HVAC Systems
The Honeywell 6000 thermostat is compatible with a wide range of HVAC systems‚ including conventional 2-stage heating and cooling systems‚ heat pumps with up to 2 stages‚ and dual-fuel systems. It works seamlessly with gas furnaces‚ air conditioners‚ and heat pumps‚ ensuring versatile installation options for various home configurations. This compatibility makes it a flexible choice for different heating and cooling setups.
7.3 Technical Requirements
The Honeywell 6000 thermostat requires a 24VAC power supply and is compatible with most HVAC systems. It supports 1-2 stage heating and cooling systems and can operate without a common wire when using battery power. The thermostat is designed for use with standard 24VAC systems and includes optional battery backup for continuous operation during power outages. This ensures reliable performance across various installations.
Customer Assistance
For assistance‚ visit customer.honeywell.com or call 1-800-468-1502. Online resources include user manuals and troubleshooting guides. Warranty information is also available for registered products.
8.1 Contacting Honeywell Support
For assistance with the Honeywell 6000 thermostat‚ customers can contact Honeywell Support at 1-800-468-1502 or visit customer.honeywell.com. Online resources‚ including user manuals and troubleshooting guides‚ are available to help resolve issues. Additionally‚ warranty information and product registration can be accessed through the website‚ ensuring comprehensive support for optimal thermostat performance and maintenance.
8.2 Online Resources and Manuals
Honeywell provides comprehensive online resources for the 6000 thermostat‚ including downloadable user manuals‚ installation guides‚ and troubleshooting tips. Visit customer.honeywell.com to access detailed documentation‚ video tutorials‚ and FAQs. These resources help users navigate installation‚ programming‚ and maintenance‚ ensuring optimal performance. Manuals are available in multiple languages‚ including English‚ French‚ and Spanish‚ for global accessibility and ease of use.
8.3 Warranty Information
The Honeywell 6000 thermostat is backed by a limited warranty covering defects in materials and workmanship. The standard warranty period is typically 5 years for parts and 1 year for labor. Registration may be required to activate full warranty benefits. For detailed terms and conditions‚ refer to the product manual or visit Honeywell’s official website. Proper installation and maintenance are essential to ensure warranty validity.
Leave a Reply
You must be logged in to post a comment.